


Introduction
In March 2022, Auth0 announced the release of a new SDK for integrating Auth0 with Vue 3 apps - the Auth0 Vue SDK. The release describes this SDK as a Vue plugin that abstracts the features of the Auth0 SPA SDK. With the announcement came a fairly basic guide on how to get started and referred readers to the Quickstart guide and the GitHub repository for more information.
I have had an Auth0 account for a while now; one I created for a hackathon that I later ended up not using. I decided to give it another go, this time to see if I could use it to develop on this idea I had for the Planetscale hackathon which has already ended. Because this is a fairly new SDK, I could barely find any other guides on the internet that were more hands-on and not just a repetition of what was in the docs.
In the course of working on this project, I faced two challenges:
Persisting the authenticated state of a user
Making my log out button to show up on my navigation component when the user tries to navigate to a guarded route, is forced to login and returns to that page.
Resolving the first challenge was pretty straight forward. I discovered that I was using dev keys provided by Auth0 for my social logins so I had to replace them with mine. The second issue, however, had me looking through the interfaces of the SDK documented on GitHub to resolve it and that is what I will be talking about in this article.
Now I am not claiming to be an expert since this is literally my first time using Auth0 and the SDK. This article is a way of documenting how I solved my problem and I hope it helps someone else out there. I am also open to suggestions for improvements.
Prerequisites
Before I dive into the problem statement and how I solved it, there are a list of things you need to know / do because I will not be covering them or doing a walkthrough in this article.
- You need a working knowledge of Vue, Vuex and Vue-Router.
- You also need your development environment to be set up for Vue 3 development
- An Auth0 account with an Auth0 Single Page Application created in your dashboard is vital for following this tutorial. This quickstart guide can help you create and configure your application in the Auth0 interface. You will also need to set up your login options. For my project, I was just using the Google and Twitter social login options.
- Lastly, you need to install the Chrome Vue.js Devtools extension if you have not already done so.
Setting up the Demo Application
We will be using the Vue application found in this demo repo. It is a sample application set up as barebones replica of my problem statement. You will need to clone the repo and install the project dependencies. You also need to create a .env.local file and populate it with the following information:
VUE_APP_AUTH0_CLIENT_ID={your-auth0-client-id}
VUE_APP_AUTH0_DOMAIN={your-auth0-domain}
NOTE: If you are not clear on where to get these values, you can follow the steps in the Configure Auth0 section of this article.
Finally, you can run yarn serve to start the development server to follow along.
If you will like to just skip to the final version of the project just click here.
The Challenge
The auth0-vue-sdk-demo repository contains a basic Vue application with navigation component and has been set up with Auth0. It has 3 pages - the home, about and protected pages. It has a login button in the navigation as well as a logout button that is supposed to show up when the user is logged in. For now, this simple requirement is met as expected.
The picture below shows the landing or home page of the application.
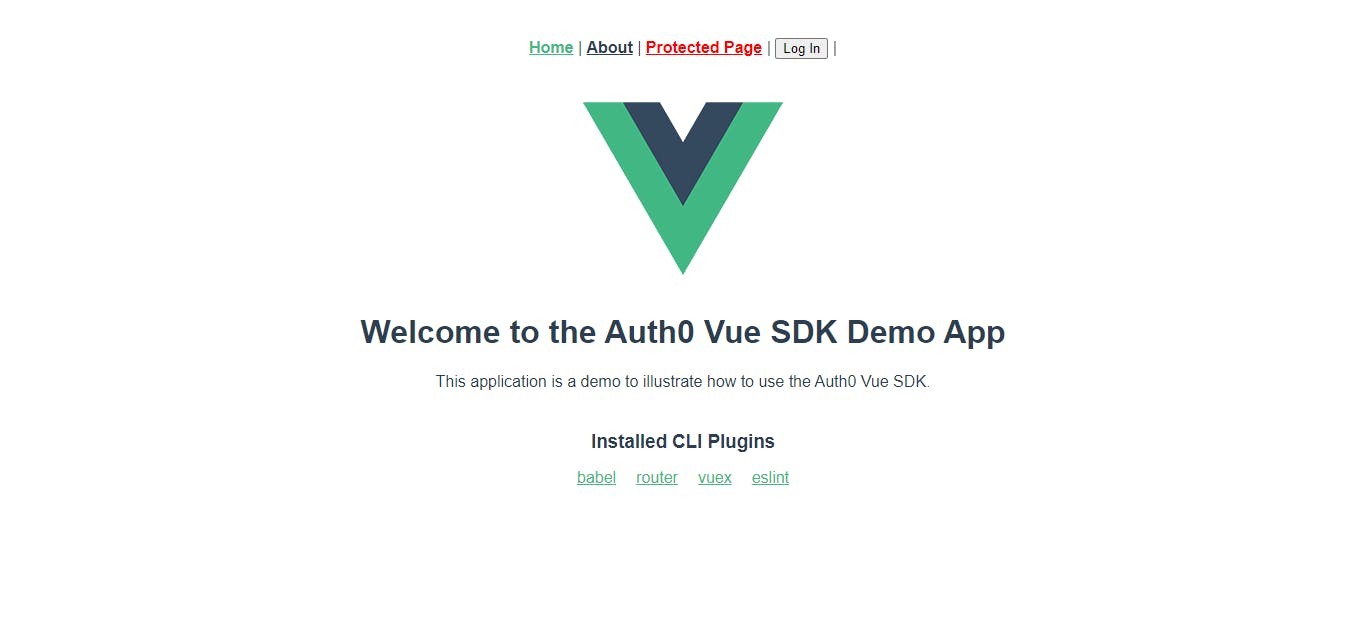
As you can see we have our navigation links and the login button. When we click the login button, we see popup screen with two social login options. If you proceed to login in with either of them, you will get redirected to the protected-page route. The login button is also gone. In place of it, you now have the logout button.
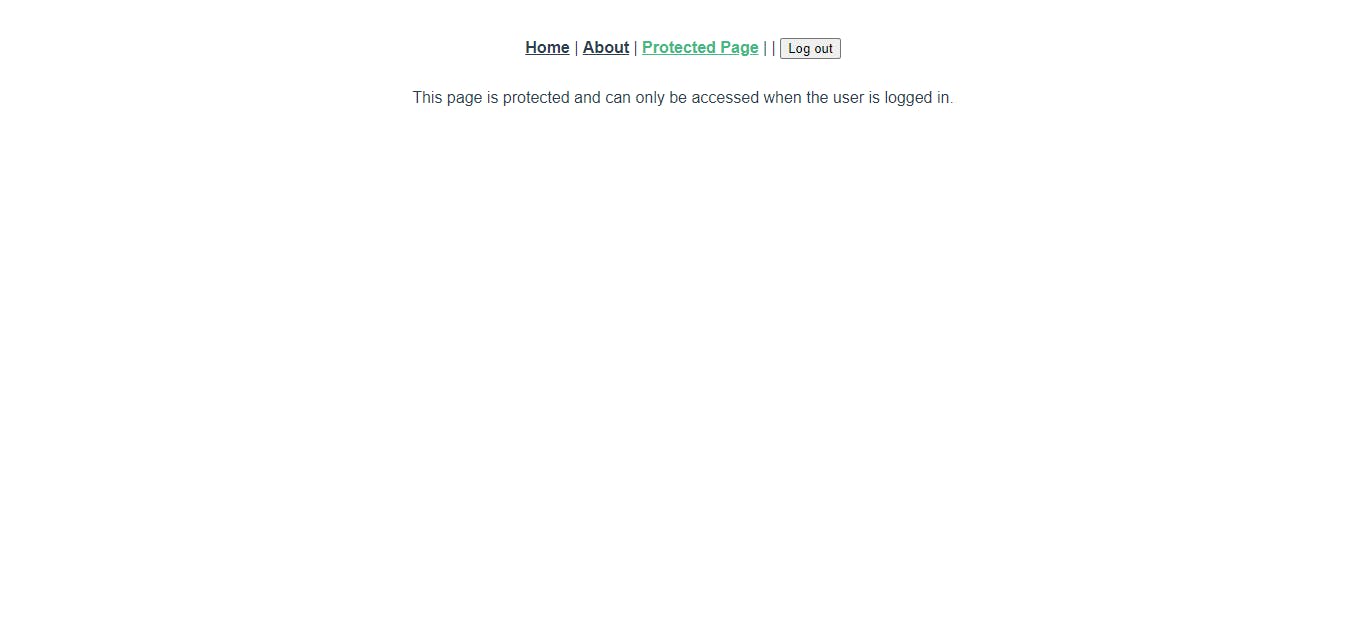
Log out using that log out button and let us try something else. This time around, we will try to access the protected-page route directly. Click on the Protected Page link highlighted in red. You should be redirected to an Auth0 login page. Log in like we did before and this time around you will notice something different.
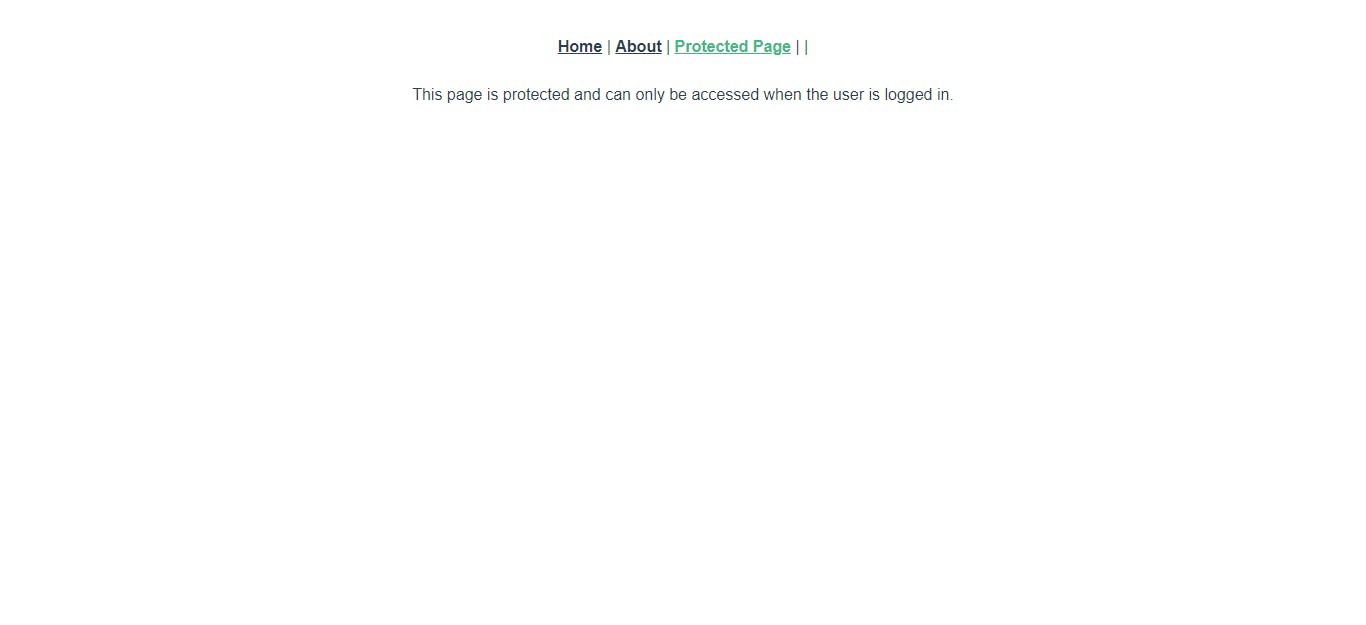
The logout button is missing! What happened?
In the Navigation.vue component, we perform certain actions whenever a user clicks the login button. The click event triggers the login function defined in the methods property. Let us look at the method closely.
async login () {
  try {
    await this.$auth0.loginWithPopup()
    this.updateAuthenticationStatus({ isAuthenticated: this.$auth0.isAuthenticated.value })
    await this.$router.push({ name: 'protected-page' })
  } catch (error) {
    console.log(error.message)
  }
}
The login method awaits the call to the loginWithPopup method from auth0. After the user has successfully logged in without any errors from that call, we make a call to the Vuex store. The updateAuthenticationStatus method is a mutation in the Vuex store that updates the value of our isAuthenticated state.
Remember the Vue.js Devtools extension mentioned earlier? We are going to use it to check the state of our application. Open your browser dev tools and click on the Vue tab. In that tab click on Vuex. You should see something like this:

The state item isAuthenticated is set to false. Recall that we use that state item to decided whether or not to show the logout button. When we log in by clicking the login button, our code logic ensures to update that value with the value from this.$auth0.isAuthenticated.value which would be true. However, because we are using authGuard - the authentication based navigation guard from @auth0/auth0-vue, we have not been able to update the isAuthenticated state value after a successful login.
You can find where we use the authGuard method from @auth0/auth0-vue in the router/indes.js file.
import { authGuard } from '@auth0/auth0-vue'
// ... other imports

const routes = [
  // ... other routes,
  {
    path: '/protected-page',
    name: 'protected-page',
    component: () => import(/* webpackChunkName: "protected-page" */ '../views/ProtectedView.vue'),
    beforeEnter: authGuard
  }
]
What do we need to do? We need to find a way to update isAuthenticated right before we enter the protected-page route.
The Solution
We already have an authentication-based navigation guard from @auth0/auth0-vue. We need to extend that guard somehow since it already does most of the functionality we would want from an authentication-based guard. It is an official SDK so we can safely assume it has been tested and it will do us more good to use it than try to write our own.
The modules page of the API reference for this SDK, it provides JS docs on the different functions the SDK exposes. In the authGuard section, we see that the function returns a boolean value.
A closer look at the source code for the guard on GitHub reveals that this boolean value is returned based on whether the value of the isAuthenticated property of the Auth0 client itself, typically the this.$auth0 instance, is true or false. If it is true, it returns true and does nothing. If not, it calls the loginWithRedirect method which opens an Auth0 login page in the same tab as you application. After the user has been authenticated successfully, they are redirected to the route from which they were trying to access.
We are going to leverage this method and its return value to update our application's state isAuthenticated value. Let us look at the extendedAuth0Guard function below:
const extendedAuth0Guard = async (to) => {
  const response = await authGuard(to)
  store.commit('updateAuthenticationStatus', { isAuthenticated: response })
}
We retrieved the boolean response from calling the authGuard function from @auth0/auth0-vue. Then we updated isAuthenticated with the response value.
We also need to update the authGuard we use for our protected route. We replace authGuard with extendedAuth0Guard as shown below:
const extendedAuth0Guard = async (to) => {
  // ...
}

const routes = [
  // ... other routes,
  {
    path: '/protected-page',
    name: 'protected-page',
    component: () => import(/* webpackChunkName: "protected-page" */ '../views/ProtectedView.vue'),
    beforeEnter: extendedAuth0Guard
  }
]
When we restart our application with these new changes, you should see the logout button showing up on the protected page.

Why it Works
The first time a user tries to navigate to a route with the extendedAuth0Guard, they are redirected to the Auth0 login screen. At this point, the authGuard function call returns false. We set our application's isAuthenticated value to false. The logout button would not be visible. We do not mind because they are not on our application anyway. They will be on the login page from Auth0.
After successfully authenticating themselves, they are redirected to that same route. This time around, the authGuard function call returns true because they have been authenticated and the client has noted this. We set isAuthenticated for our app to true. Since we are on our app, we see the logout button because now, the value has been set to true.
We now have a functional navigation that displays the appropriate buttons based on the authentication state of the end user.
Conclusion
The Auth0 Vue SDK is an abstraction of the Auth0 SPA SDK that Vue 3 developers can use to integrate Auth0 with their applications. With the Auth0 SPA SDK, you had to create your own plugins to integrate Auth0 into your applications and create an authentication-based navigation guard to protect your routes. However, the Auth0 Vue SDK provides the basic utilities you will need for setting up Auth0 in your app as plug and play functions.
In this article, I discussed how I extended one of these functions, the authGuard function to address my peculiar use case. The starter code can be found here. The final code for the demo application discussed in this article can be found in the final branch.
Bonus: Setting up Social Logins for Your Application
It is not compulsory you follow this section but if you want to have an environment as close to what I demoed, you can follow these steps to set up social logins for your application.
- In your Auth0 dashboard, navigate to Authentications -> Social.
- Click on Create Connection
- Follow the prompts for your chosen social connection. Include the necessary client keys and tokens if you want your application logins to last even after a page refresh.
- Navigate to your application under Applications -> Applications
- Click on the Connections tab
- Click the switch for Database connections to turn it off (it is greyed out when you turn it off)
- Click on the switches for the other social connections you want this application to use.