Building a (Personal) Relationship Manager with Notion API - Working with Notion Templates and Integrations
Notion API + Node.js as a Personal Relationship Manager

I am software developer and technical originally from Lagos, Nigeria but currently living in Canada.
I am currently specializing in front-end development using JavaScript (Vue) but my range of skill sets extends to the backed.
When I am not working or cooking up an article in my head, I spend my time watching movies on Netflix.
When life gets busy we need to be reminded to enjoy our most meaningful relationships - Jeff Su Building meaningful Relationships with a Personal CRM
It is one thing to have the contacts of your family and friends on your phone; it is another to actually nurture those relationships by reaching out and staying on top of what is going on in their lives. We all lead quite busy lives and it's easy to get caught up in the day's activities and miss the important things. Your phone contacts feature is also quite limited. There is only so much you can save about a person based on the features of our contact app.
Cue Notion. Notion is a popular productivity tool that has a range of uses from simple content organization for individuals like yourself to product and project management for startups and businesses. One of the first templates I was shown when I created my Notion account was a Personal CRM template. Basically, it is a database with different views that allows you to store details of people like names, how you met them, when last you spoke to each other, what you last spoke about, and if they're professional contact or not. You also get to store details like their address, family members, gift ideas and other stuff about them.
What if we could build something that uses the data in that database to create reminders for us to reach out? Better still, what if we could make it send messages for us?
This article is a part of a series where we leverage the Notion API for this use case. In this part, we would customize the Personal CRM template for our use case. Then we will create an integration with Notion API that we can use to build our application.
Prerequisites
- You will need a Notion account to follow along. You can get one here for free!
- You will also need a basic understanding of NodeJS, JavaScript, Git and GitHub.
- You have an idea of what GitHub actions are.
- You have a Twilio account or any of its equivalents that you can use to send SMS programmatically.
Setting up Your Personal CRM Template and Creating an Integration.
- After creating your account, click on the Templates button in the side bar at left hand corner of the web page.
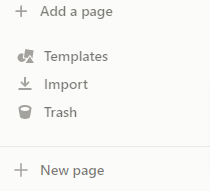
- Click on the Students section in the list of templates to expand the sub list and locate the Personal CRM template. You can rename it to whatever you want. I chose to call mine Demo Personal Relationship Manager.

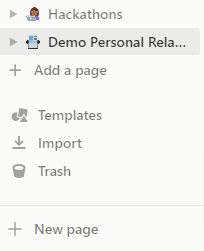
- Click on Use this template. Notion will create a new page for you in your list of pages with the name Personal CRM or whatever name you chose.
Customizing the Template
The next thing to do is customize our template. For this tutorial, we want to either get a reminder to call our contact whenever it has been more than 3 months since we reached out or send them a text instead. We need to add a phone number for each contact.
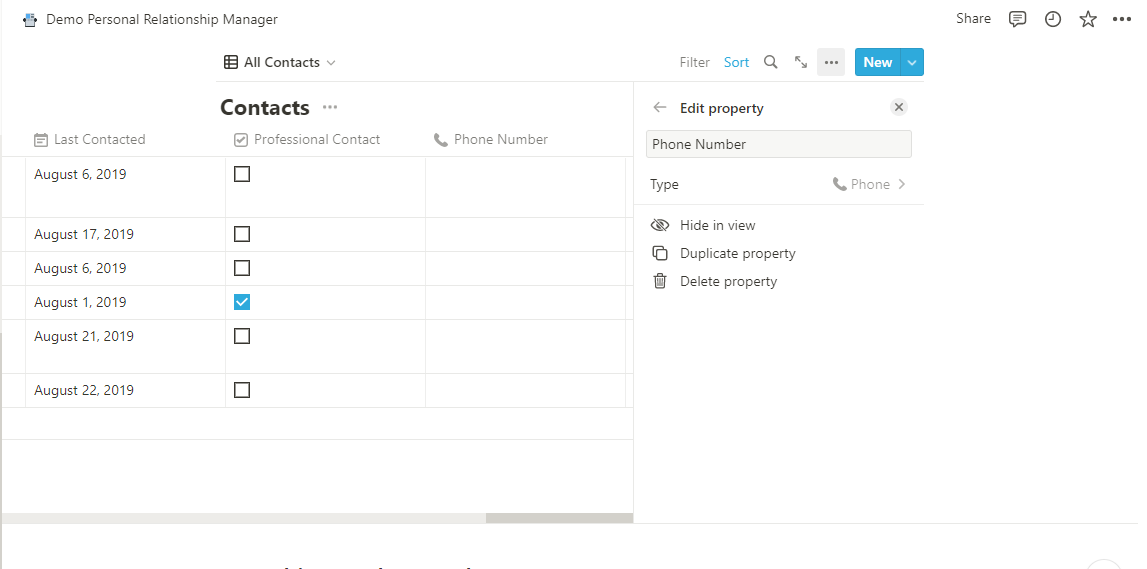
- Add a new column or 'Property' to your page called Phone Number with a type of 'Phone'
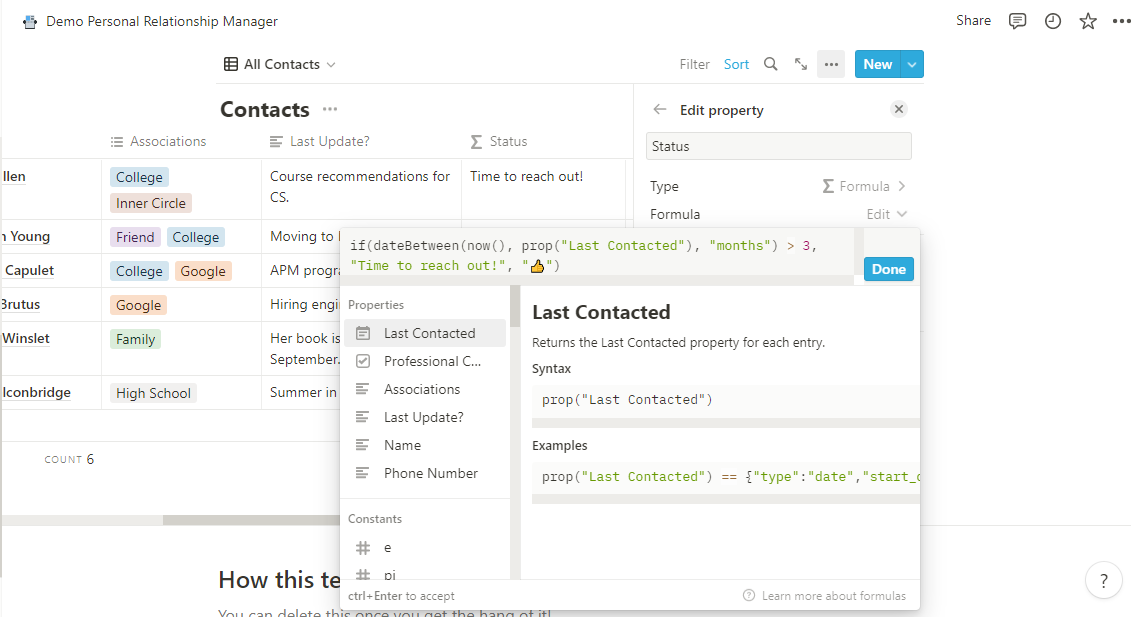
We also need a column for that shows whether we should reach out or not. The template already provides one called 'Status' but it is more visual. Notion allows you to customize what shows up in your columns with certain formulas. The 'Status' column is a column of type 'Formula' and we can see the formula it uses to generate the value when we click on the property. We can see that it returns a string or text for true or false outcomes of the condition.
The formula for the Status column is:
if(dateBetween(now(), prop("Last Contacted"), "months") > 3, "Time to reach out!", "👍")
For our use case, it will be better to deal with raw true or false values when we get to the coding part. Therefore we need to change that. Instead of modifying the status column, we will create another column solely for our use case.
- Create another column called Should Reach Out? That column will be an column of 'Formula' type under the Advanced category.
- Copy the formula from the Status column and modify it thus:
if(dateBetween(now(), prop("Last Contacted"), "months") > 3, true, false)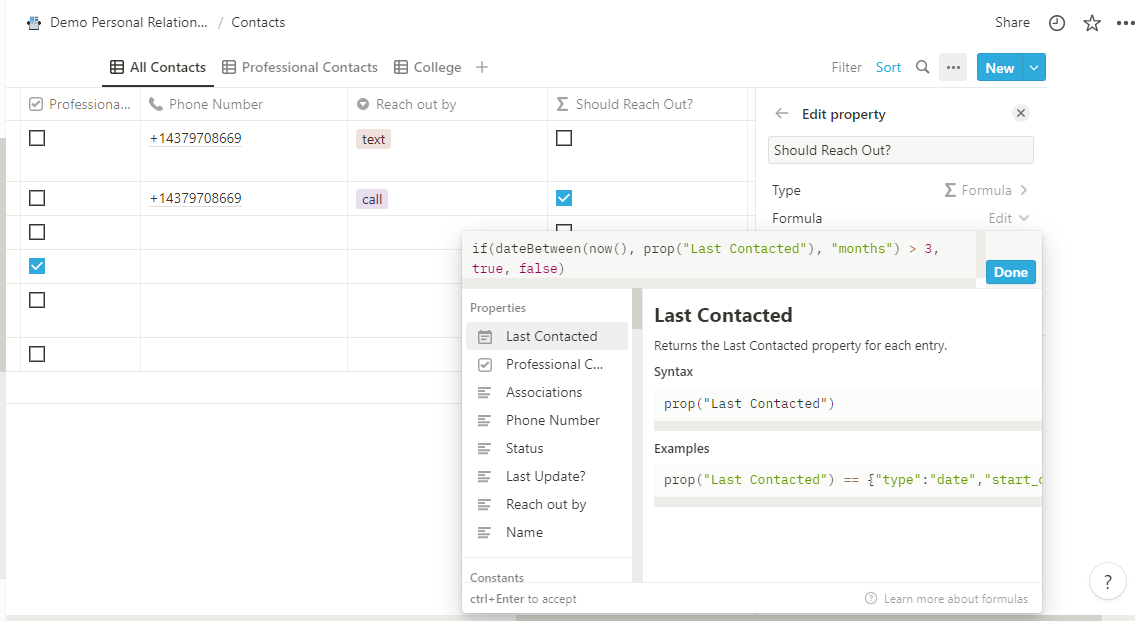
Next, we want to create another column to decide how we want to reach out. We want to have two values - call and text. That column should have only one of those values at any given time.
Add another column of the Select type with the name Reach out by
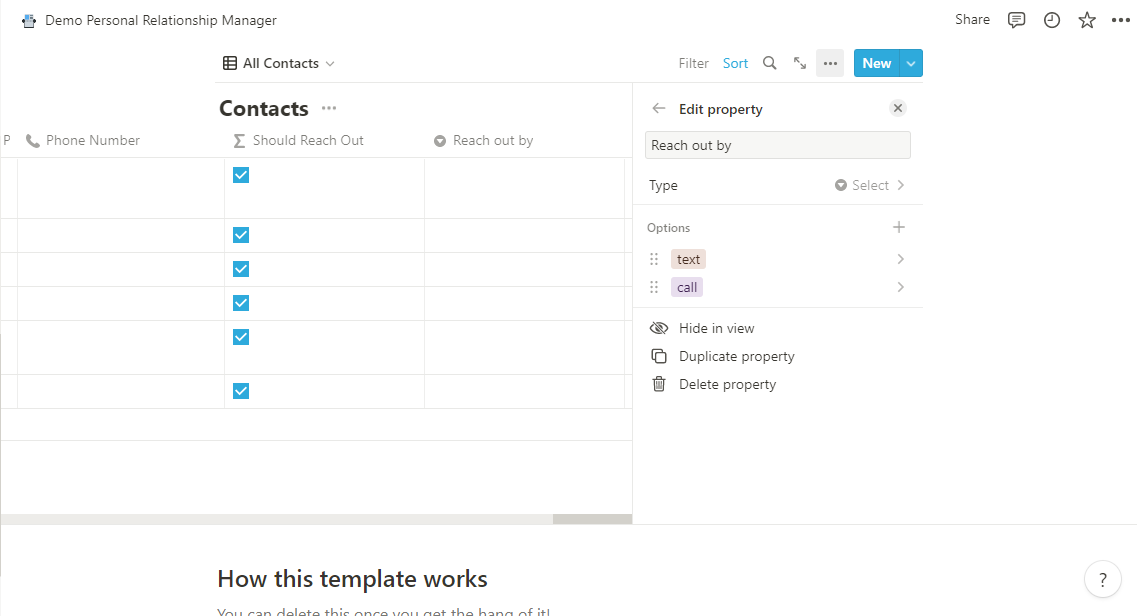
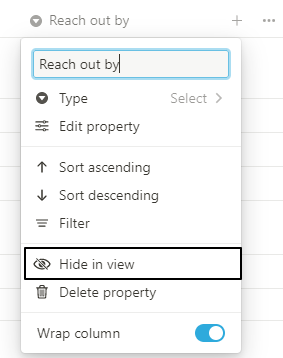
Finally, we want to hide these two columns since we are only going to be using them in our program.
- Click on the property you want to hide.
- Click on the Hide in view button.
Creating an Integration
A Notion integration is like a programmatic connection to your data in your Notion workspace that leverages the Notion API.
NOTE: You need to be the admin of a Notion workspace to create an integration. If you created a personal Notion account, the chances are you are already an admin. You need to create an integration to use the Notion API. Here are the steps you need to follow to create one for this tutorial.
- Visit the integrations page.
- Click the "+ New integration" button.
- Provide a name for your integration - You can call it "(Personal) Relationship Manager".
- Select the workspace where you want to install this integration (if you have multiple workspaces).
- Set the 'Integration type' to 'Internal' since this a a tooling for personal use.
- Select the capabilities that your integration will have.
- Click "Submit" to create the integration.
- Copy the "Internal Integration Token" on the next page and store it somewhere secure.
Sharing Your Database with Your Integration
When you first create an integration, it does not have access to any of the databases in your workspace. You have to share that particular database with your integration. The instructions to do that are listed below:
- Click on the Share button at the top right hand corner of the Notion web app.

- Click on Invite
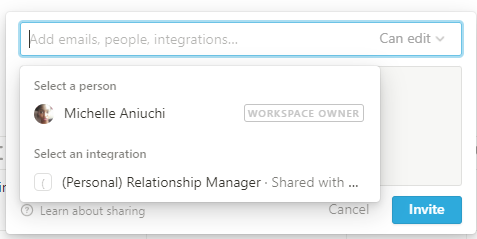
- Check on (Personal) Relationship Manager
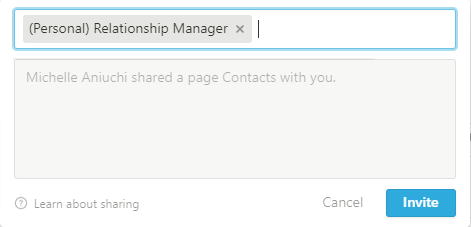
- Finally click on the Invite button
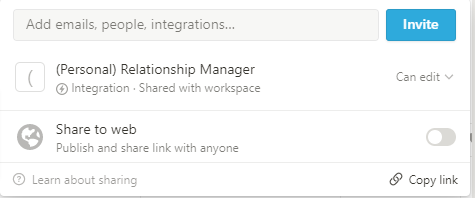
You should see the (Personal) Relationship Manager integration now listed in the share menu.
Storing the Database Id
We will need the database id of the contacts database when we are building our application. If you are not already in the full page view of the contacts database, you can click on the diagonal double-headed arrow to open it in a full page. Copy the part of the URL before the question mark '?' symbol and save it to your .env file as NOTION_DATABASE_ID.
If my URL looks like this: https://www.notion.so/1c31a3c7d02b4cdcacd159d9a208c136?v=bd2be96f71744dd9b083da58388c97c6
So my database will be 1c31a3c7d02b4cdcacd159d9a208c136.
NOTION_DATABASE_ID=1c31a3c7d02b4cdcacd159d9a208c136
This value will be the identifier we use to extract data from our database in our application.
Conclusion
In this article, we learned about Notion templates, the Notion API and integrations. We created and customized a template. Then we created an integration for the database contained in that template. In the next article, we will use this integration to build an application for our use case.
Resources
https://developers.notion.com/


